Share
Pin
Tweet
Send
Share
Send
For this you will need:
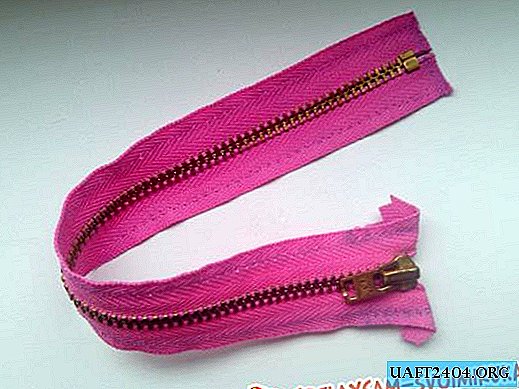
1. zipper (3 pcs. 18-20 cm)
2. satin ribbon (40 cm)
3. clasp
4. beads (5 pieces)
5. superglue
6. threads
7. needle
8. scissors
9. a small piece of sticky paper or fabric
Step 1.
We take one zipper, cut the fabric from the bottom and along the edges, leaving 0.5-0.7 cm from the edges of the cloves. Scorch the cut edges with matches or a lighter.
We unzip. Sew a bead to the upper edge. We begin to wrap the right edge of the zipper clockwise, the left - against. Each turn is well fastened with several stitches from the wrong side.

In this way we get the right and left circle in the center with the slider. This element will serve as the center of the necklace.

Step 2
We take the second lightning and divide it into two parts. We keep the runner, it will be useful to us. We cut off the excess tissue, leaving 0.5-0.7 cm from the edge of the cloves. Cropped edges singe.


We turn each part of the zipper into a circle, fixing each turn with several stitches.

Step 3
We also divide the third lightning into two parts, cut and singe the edges. Save the slider. Divide each part in half, we get four parts. From each part we form a figure eight.


Step 3
We divide the satin ribbon into two parts, singe the edges and connect it to the fastener. The necessary fastener can be removed from an already outdated and unnecessary decoration or bought in the department of sewing accessories.


Step 4
Alternately, we sew together the prepared parts, getting the central part of the necklace.


Step 5
We sew the already prepared ribbon with a fastener to the edges of the central part of the necklace. On the seamy side of the necklace, thread stitches are visible. In order for the work to look more accurate, they must be closed. We take adhesive paper or just a cloth, cut the part in the shape of a necklace and glue it with glue, closing the thread stitches.


Step 6
Glue three beads. We glue the two runners previously taken from the zipper along the edges.

Step 7
In order for the necklace to lie well on the neck, on both sides we will lay the folds and fix them with glue. The necklace is ready for fitting.

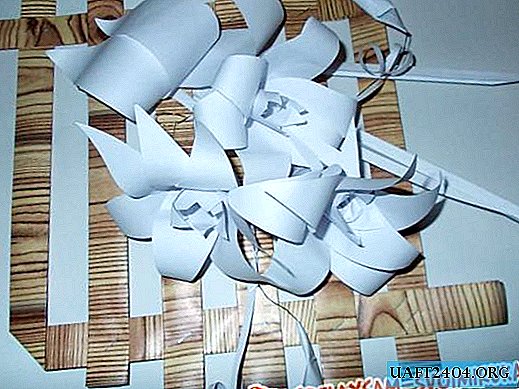
The result of the work.


Share
Pin
Tweet
Send
Share
Send